| Upgrading
Heng Long Tanks - Receiver Boards
A Step By Step Visual Guide
Can be used to replace a faulty board or to update an older non-sound and smoke
version for the new features. Click here for more information on Heng
Long Tanks. | 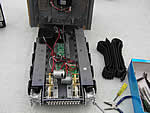 |
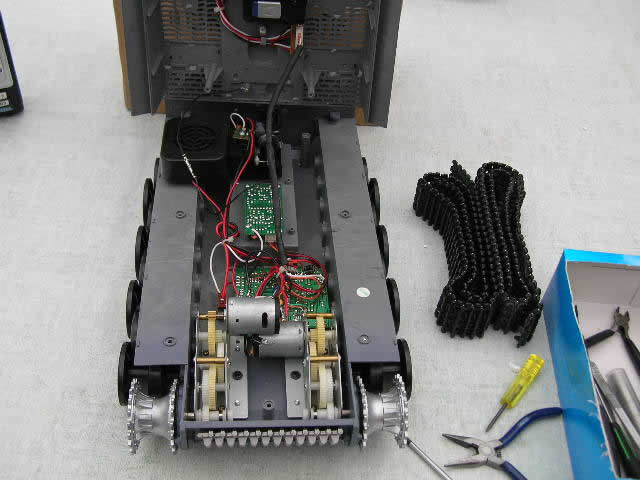
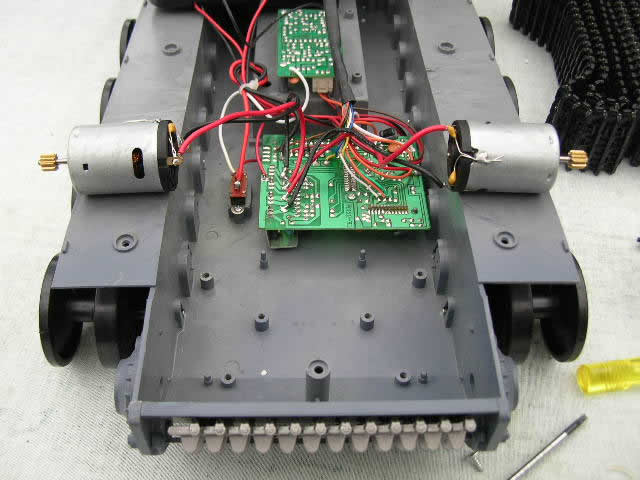
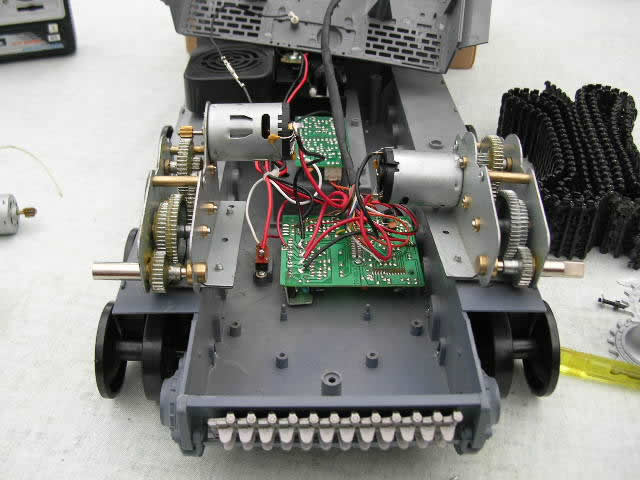
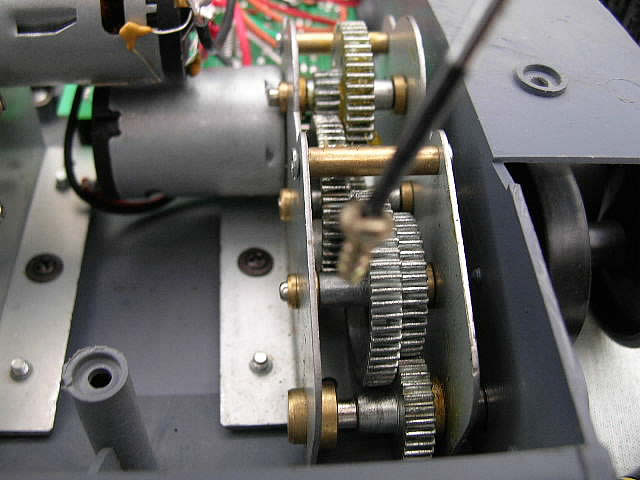
1. Inside a Tiger 1. All Heng
Long tanks share the same basic internal components. | 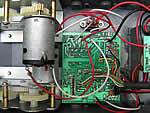
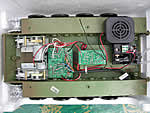
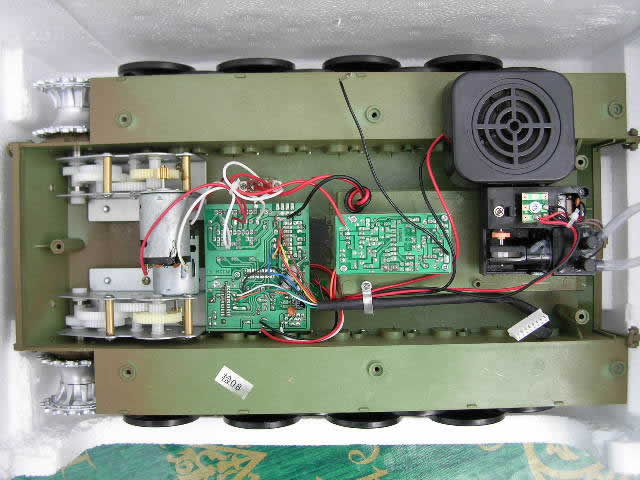
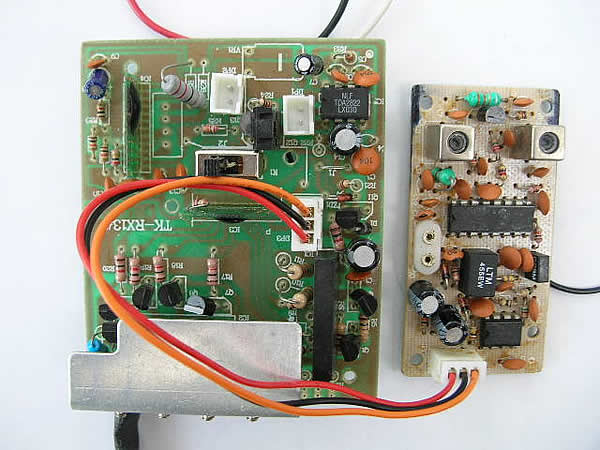
2. View of larger main
receiver circuit board showing wiring positions. | 
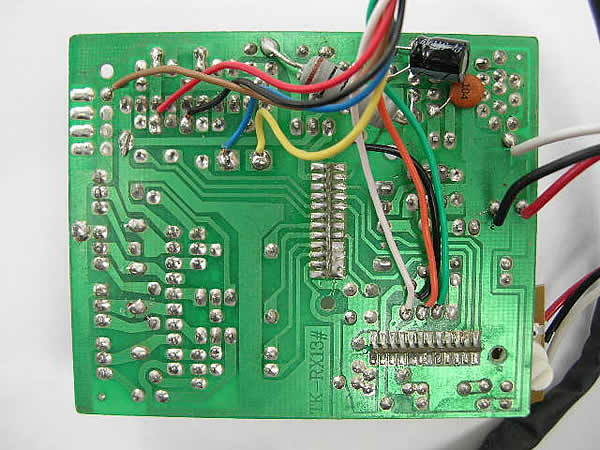
3. Close-up of wiring on a new uninstalled main receiver circuit board. Colour
and thickness of wires may vary. | 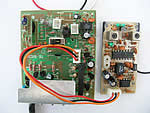
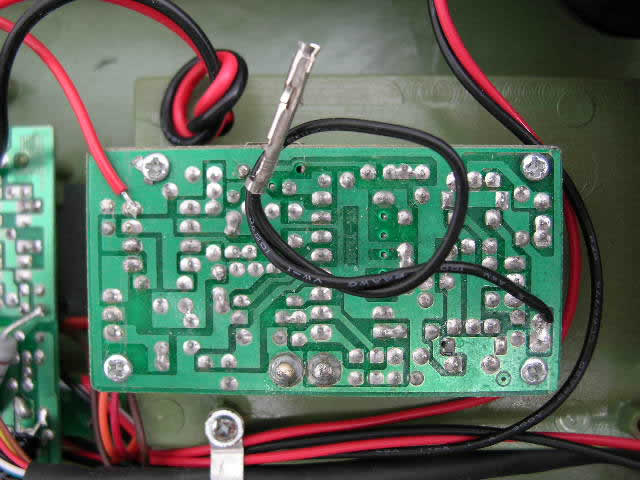
4. Underside of a pair of new
uninstalled receiver circuit boards. Note 2-pin socket for receiver crystal on
left of smaller board. | 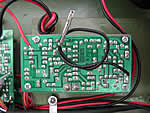
5. Close-up of smaller secondary receiver circuit board. Note connector for serial.
| 
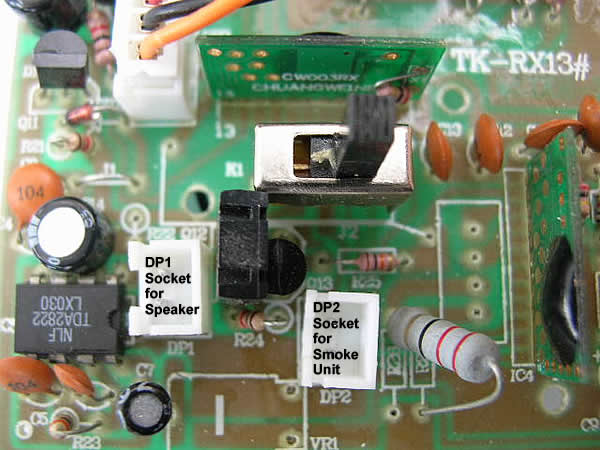
6. Note DP1 socket for speaker and DP2 socket for smoke unit. |
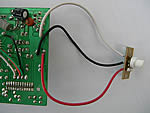
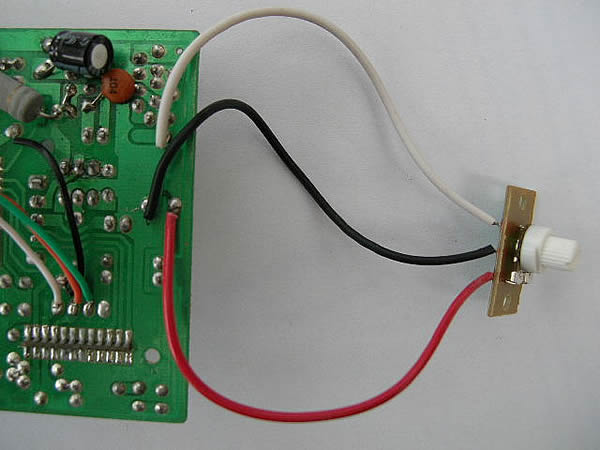
7. View showing wiring
of sound volume control. | 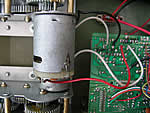
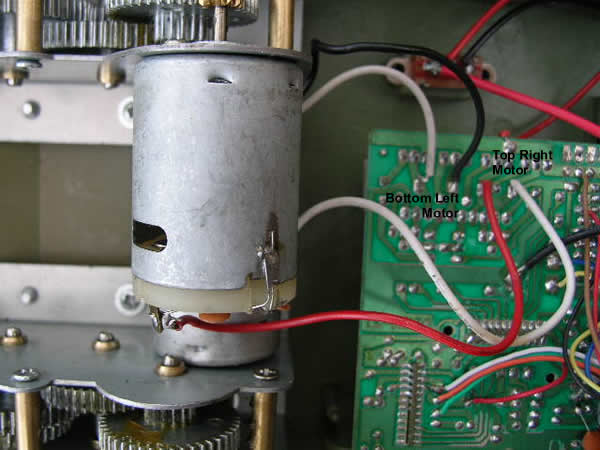
8. View showing wiring
positions for left (bottom) and right (top) motors. | 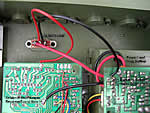
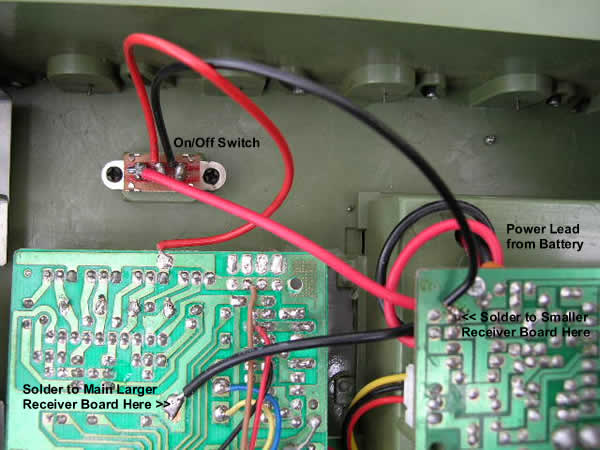
9. View showing wiring
of power lead from battery compartment to switch and circuit boards. |
Replacing Receiver
Circuit Boards - Unplug
connector to top hull if not already done
- Unplug
aerial from top hull if not already done
- Important:
Before Cutting or unsoldering each wire, make a note of where they are attached
and put a label on each if it helps. Refer to the photos above ig necessary.
- Cut/unsolder
wires x4 from motor where it is soldered to the main circuit board
- Cut/unsolder
wire from power lead likewise
- Cut/unsolder
wire from switch likewise
- Cut/unsolder
wire from switch where it is soldered to the smaller circuit board
- Remove
both circuit board from hull (keep screws to one side for reuse)
- Unplug
smoke unit and speaker from sockets beneath the main circuit board
- Discard
faulty circuit boards
- Take
new circuit boards and connect them together using lead provided if not already
connected
- Plug
smoke unit and speaker to sockets beneath the main circuit board
- Fix
both circuit board to hull (reusing screws put to one side)
- Note
positions on circuit boards from which the wires were removed from. (7 wires to
be reattached to new receiver boards)
- Solder
wire from switch to the smaller circuit board
- Solder
wire from switch to the position on the main circuit board
- Solder
wire from power lead likewise
- Solder
wires x4 from motor to the main circuit board
- Reattach
aerial and connector to upper hull when ready to put the tank together again
|
|

